And it lives…how to install iMac SSD upgrade

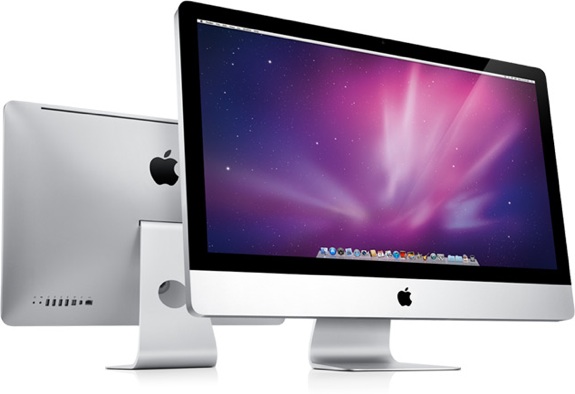
After a bit of a hiatus, the previously mention “Unhappy Dead Mac” has been given a new lease on life with an iMac SSD upgrade kit from Other World Computing.

First a little background, the Mac was a 2011 27inch iMac. It had served its duty as a 24/7 desktop computer that was rarely, if ever, shut off. The toll of this hard life finally caught up with it. I should note that there were warning signs very early on. At the beginning of the year it experienced a critical crash that left it unbootable. I managed to, thru a bit of inventive cloning, have it back up and running on its original drive.
I knew at the time that this was a dangerous path since if it died once, it was already on the path to a permanent death. It was living on borrowed time. In anticipation of its eventual demise, I made sure most of my important data was properly spanned across external drives and the cloud. As time passed and it seemed to continue to function the thought of its death slowly faded. And, as lazy as I am, the rigorous backup ritual started to wane. Just when you least expect it and at your most vulnerable, it once again crashed hard.
This time I knew that I wouldn’t be able to revive it. I took this opportunity to make the plunge into a belated iMac SSD upgrade. I was able to, thru recovery software, recover some of the missing files here and there. So all of my needed data was not lost.
After some research, I settled with OWC. It seemed to be the most straightforward and hassle free approach. This is because the original iMac drive has some proprietary Apple tech that the system looks for to maintain proper temperature control. If I were to just directly replace the drive with a standard SATA SSD, the system would not recognize proper temperatures and would continue to run fans at full. The OWC iMac SSD upgrade kit comes with all the necessary adapters and thermal sensors to allow the iMac’s fans to spin properly.
The whole process was so simple that I was able to confidently engage the help of our resident JuniorGeek for the task. She had loads of fun following the video instructions and completing the whole process with minimal assistance from the HeadGeek (The weight of the LCD panel was a bit too much for her. Strength was the only thing holding her back)
Once everything was completed and back together, all that was left was to reinstall OS X . This was an interesting challenge since the aging iMac also has an unreliable DVD drive.
So for this, I did something I have never done before. I performed an internet recovery install of OS X. Actually, it is a very simple, albeit lengthy process.
Once you have everything all reconnected ( you only need power and ethernet or wifi), you just need to boot up the mac while holding down Option-Command (⌘)-R immediately after turning on or restarting your Mac. Release the keys when you see the Apple logo. Shortly there after you should see something like this.
![]()
Startup is complete when you see the utilities window. In the utilities you will be able to format your brand new HDD or SSD. In my case, it was SSD in case you forgot. Once the format is done you can run through the fresh OS X install and your Mac should be just like new.
With the new SSD, the install was much quicker than with a regular HDD. Boot up times have been greatly improved, I would even say it is lighting fast now. Another benefit is, the iMac runs much cooler, now that there is no hot HDD to heat things up. If nothing else fails, my iMac could be toiling away for another 5 years easily.
The simplicity of this iMac SSD upgrade cannot be over stated. I have no affiliation with OWC, so this is purely a personal shout out to them and their product. This is really something everyone with an older sluggish iMac should consider.
-GeekOWT

